TRISHA
IYER

Mixed Reality Lava Lamp
Created a mixed reality experience where people can create physical DIY lava lamps while following virtual instructions in augmented reality.
ROLE
Interaction & Experience Designer
TOOLS
Microsoft Hololens Guides
TEAM
Solo
Autodesk Maya
Adobe Premiere Pro
Adobe Photoshop
Task
Plan and develop an immersive learning experience for the Microsoft Hololens 2 that uses a combination of physical materials/space and augmented digital elements.
Constraints: one month to complete the project while taking three other classes
Lava Lamp
Given the time constraints, the learning experience had to be less complex. I chose a DIY lava lamp because it felt like a substantial physical activity that didn’t require too much time or too many materials. Also, since a lava lamp is created from a scientific reaction, there is a clear learning element.
Why Mixed Reality?
A lava lamp is a simple science experiment, and using mixed reality for a lava lamp is overkill. So, I needed a compelling reason to use mixed reality despite this. My thought process was this:
When you get up to AP and college level chemistry, the scientific reactions become increasingly complex. It would be helpful if this lava lamp experience could show the potential for mixed reality applications in future of scientific education. For example, being able to see 3D molecular structures and explanatory 3d animations in real-time can enhance understanding of microscopic materials and processes. In the future, maybe these 3d visual aids could show up when a user touches a physical material.
Final Result
Here are some photographs of the final experience. The computer connects to the Hololens in order to show the experience to others in the room.


Sketches
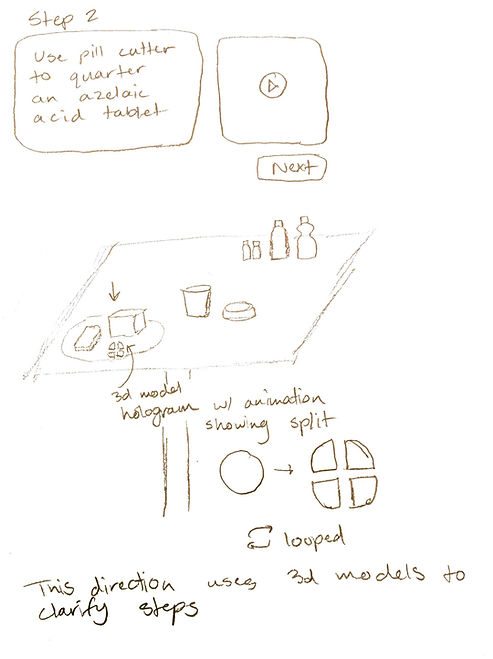
Here are my initial sketches of how the physical materials interacted with virtual elements like videos, instructions, arrows, and outlines.
.jpg)
.jpg)
Skeleton & Flows
I created the structure and flows for my immersive experience.

Physical Ingredients
I created the a list of all physical ingredients needed.
Experiment Materials
1 Placemat
1 5” x 10” Clear Acrylic Board
1 Bottle with a Disc Top Cap
2 Squeeze Bottles
4 Food Coloring Bottles (Green, Yellow, Red, Blue)
1 Clear Acrylic Stand
1 Small Ziploc Bag
4 Half Alka-Seltzer Tablets
2oz Water
4oz Vegetable Oil
Cleanup & Disposal Materials
1 Quart Ziploc Bag
1 Set of Take-Home Disposal Instructions
1 Box of Table Wipes
1 Box of Hand Wipes
1 Paper Towel Roll
1 Box of Take-Home Alka Seltzer Tablets
Placement Mat
When using the Hololens with physical materials, all physical materials need to have the same positions in relation to the QR code. In order to ensure position consistency, I created a placement mat for all physical materials.
Some labels were put on the mat while some labels were put on the materials themselves.

Annotated Version
Here's the placement mat, with descriptions of unlabeled outlines on the mat.

Final View
Here’s the placement mat with all materials on top.

Digital Assets
3D Molecular Models
Oil Molecule (Partial)

Water Molecules

Instructional Guides

Video Instructions
3D Animations
I initially created the 3d models with semi-transparent cylinders to represent liquids. However, afters testing in the Hololens, I realized that the Hololens cannot show semi-transparency well. So, I had to rethink the models. Below, you can see my initial and final versions.
These animations are visual aids to show the science.
Old
Final
Images

Final Experience (First-Person)
Images
These show the interplay of digital and physical assets. The 3d arrows and outlines were inbuilt Hololens models.


Video
Here is a short peek at the overall experience.
As you can see, near the end, I accidentally made the 3d animations go away. The Hololens can be over-sensitive at times, and this was a good learning lesson. As a next step, I should add instructions on how to get the 3d animations back.
Final Experience (Third-Person)
Here are images and clips of the final experience from third-person perspective.

Next Steps (Based on User Testing)
Unexpected User Actions
When the instructions said that oil and water don’t mix, some people decided to see for themselves and shook the bottle as hard as they could. It’s true that oil and water don’t mix, but sometimes, it takes a while to separate. If you shake the bottle beforehand, you won’t be able to see the reaction that happens. So, I want to add a warning, telling people not to shake the bottle.
3D Molecules
The 3d molecular structures still don’t illustrate the science concept very well. Some additional element is needed to show the symmetric versus asymmetric nature of the molecules. For example, showing the positive or negative charges of individual segments could be helpful.
Color Opacity
A phone flashlight shines through red and yellow food coloring well. However, it doesn’t shine through green or blue food coloring. So, people should have the option to shine the light from the side.